We hope everyone has enjoyed this Memorial Day Weekend! We have been quite busy over the last week and have decided to take the evening off to finally relax for a bit. The kitchen and the main room are finally starting to come together and we are past a lot of the demo phase.
Remember the wood paneling behind the drywall in the main room? We had to cut it out around the entire main room, which sounds a lot easier than it actually was. We also decided to cut out parts of the ceiling around the fireplace because the drywall had some water damage from before we bought the house. Luckily it was minor damage and we were able to borrow Sara's dad's truck for the week so that we could take a few loads over to the dump. We also painted all of the trim and the kitchen cabinet frames white using Benjamin Moore's Satin Impervo Paint.
Note to anyone that uses oil based paint for the first time, make sure that you have plenty of air flow throughout the house and open up all the windows. Also, keep your pets at a friend's or relative's house because as the fumes are really strong for humans, they are three times worse for animals. Tequila wasn't in the house much, but he still had some trouble when he came in to check on the progress so he got to have a sleepover with Uncle Mat while the fumes died down overnight. Here are a few pics from our progress...
 |
| The bar...we took off the counter top and painted the frame |
 |
| Check out the remaining blue shag carpet that used to flow throughout the house (hot) |
 |
| This is the area that had some water damage from before, but we sealed up everything, cleaned it and repaired any damages |
 |
| Had to take it down to the studs here to remove the old porch fan and to even out the wall going into the kitchen |
 |
| We used a drywall patch to cover the hole in the sun room so we will finally have a complete wall :) |
After we got two coats of primer and one coat of the BM Satin Impervo paint on the kitchen cabinet frames, we noticed a lot of cosmetic problems that weren't noticeable before so we went ahead and repaired and patched what we could to make the space a little more seamless. Big thank you to Lori Howarter for guiding us and giving us tips to make this project a bit easier. We completely trust her since she did a fabulous job with Sara's parent's remodel and she has been kind enough to offer advice and help us pick out some important pieces to our renovation.
Since we were tearing up the kitchen we also decided to remove all of the old ceramic tile back splash. Here are some of the kitchen updates:
 |
| My cute husband making a mess...I mean taking down the tile :) |
 |
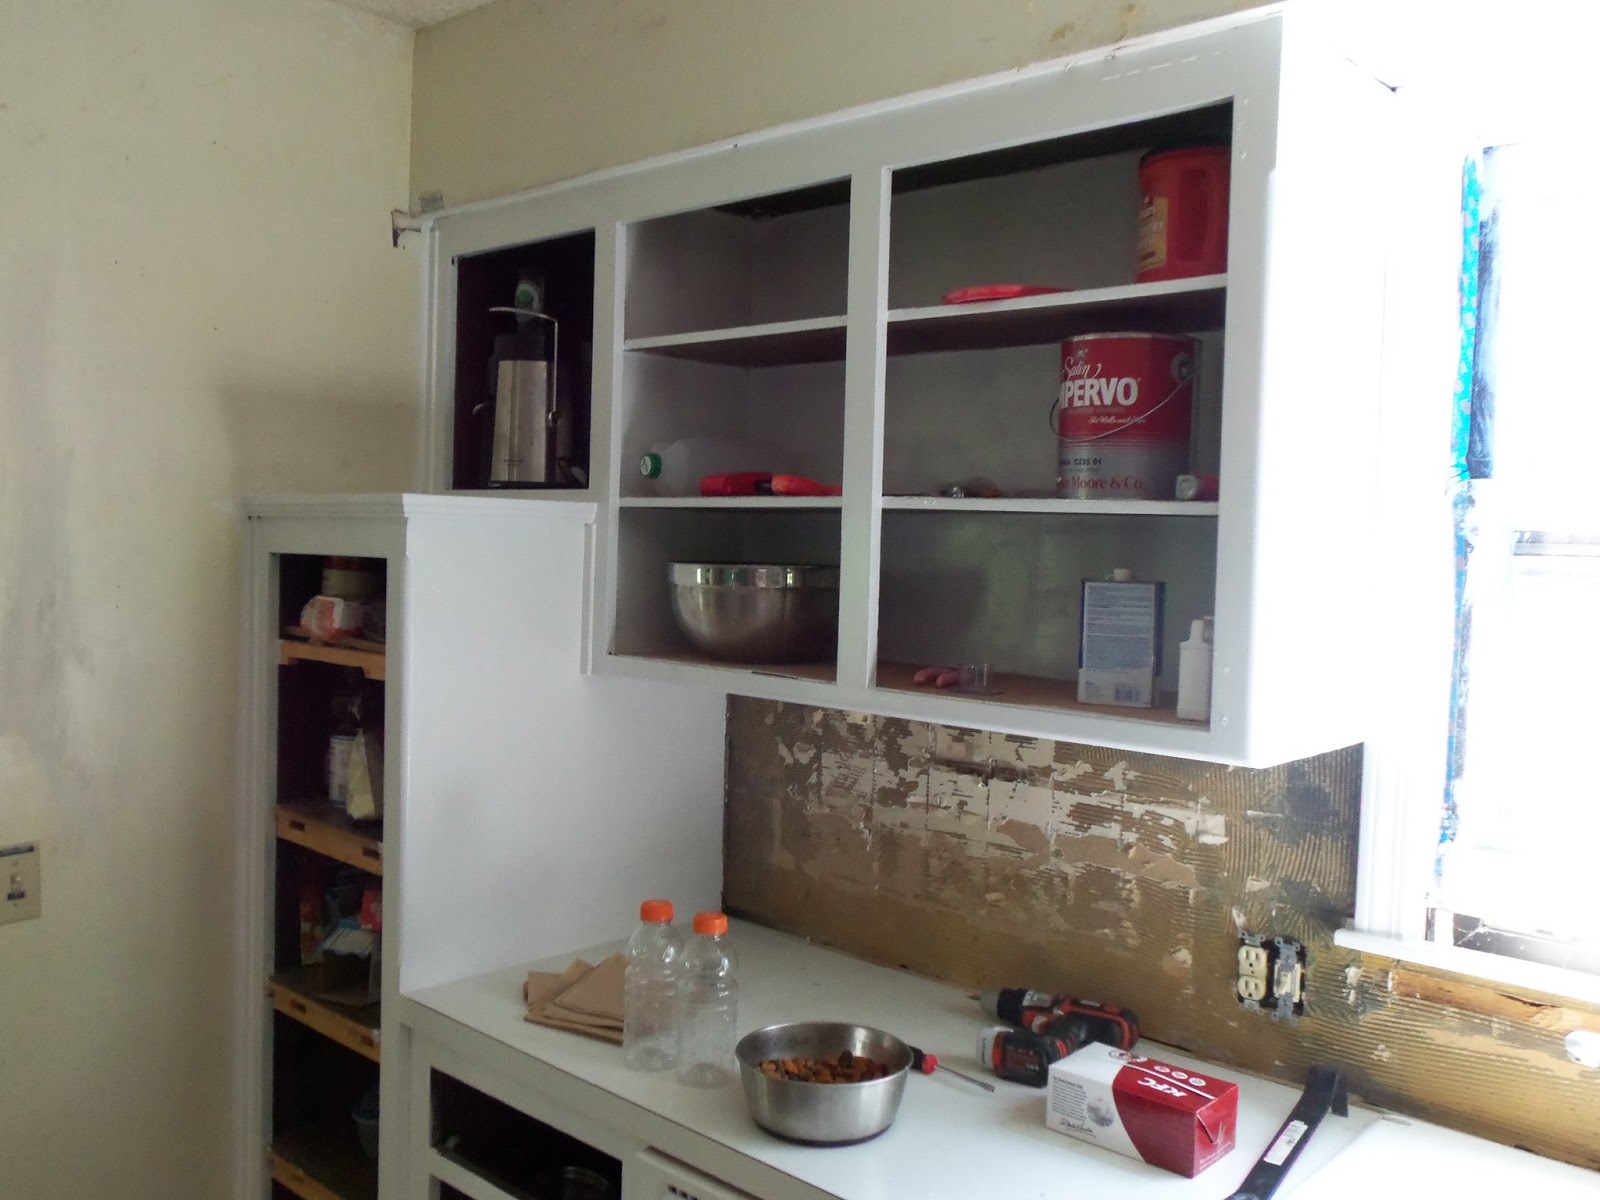
| Check out the gap in the right corner...we didn't notice it until we painted it white. The cabinets are level...the ceiling, not so much |
 |
| Another shot of the cabinets |
 |
| We added a trim piece to the top, but it still needs painting some caulk to seal the edges |
 |
| The trim still needs paint, but it sealed up quite nicely |
With all of the trim and cabinets painted white, our house is already looking so much lighter and our room looks so much bigger. We are working on the cabinet doors and drawers, but decided to take a break from those this weekend to tackle the drywall. Sara's parents came back from Maui on Saturday and we unfortunately managed to put my dad to work right away when he decided to ride along with us to Home Depot to pick up some drywall. We did have some drywall pieces left over from when we had to redo the sun room ceiling so we patched what we could before we bought more. The biggest problem we faced with the main room was the difference between the depths of the drywall. Since the previous owners decided to put drywall on top of the wood paneling, we had to buy two different types of drywall and have to try to smooth out the seams and angles with the mud. The most challenging area was the ceiling between the fireplace and the skylight, but we finally got all of the drywall hung. Check out what a difference the drywall has already made:
 |
| Main room with the drywall up |
 |
| Most challenging area...but worth it. There's so much more light now! |
 |
| The bar area with drywall |
 |
| A look into the kitchen |
 |
| Sara cut out the electrical box on the first try...boom! |
Our next phase will be finishing the drywall, painting the ceilings and finishing the drawers and cabinets. We have a couple details that we are keeping as a surprise until the end, so stay tuned for more updates. We can't wait to get our kitchen back in working condition, but for now we will take some aspirin and try to relax for the rest of our long weekend.
XOXO,
Sara, Brian & Tequila