We're not Seahawks fans in any way shape or form, but watching Denver get destroyed and Payton have one of the worst games of his career totally made this Superbowl a fun one to watch! Definitely a good time!
It's been a few months since we finished our
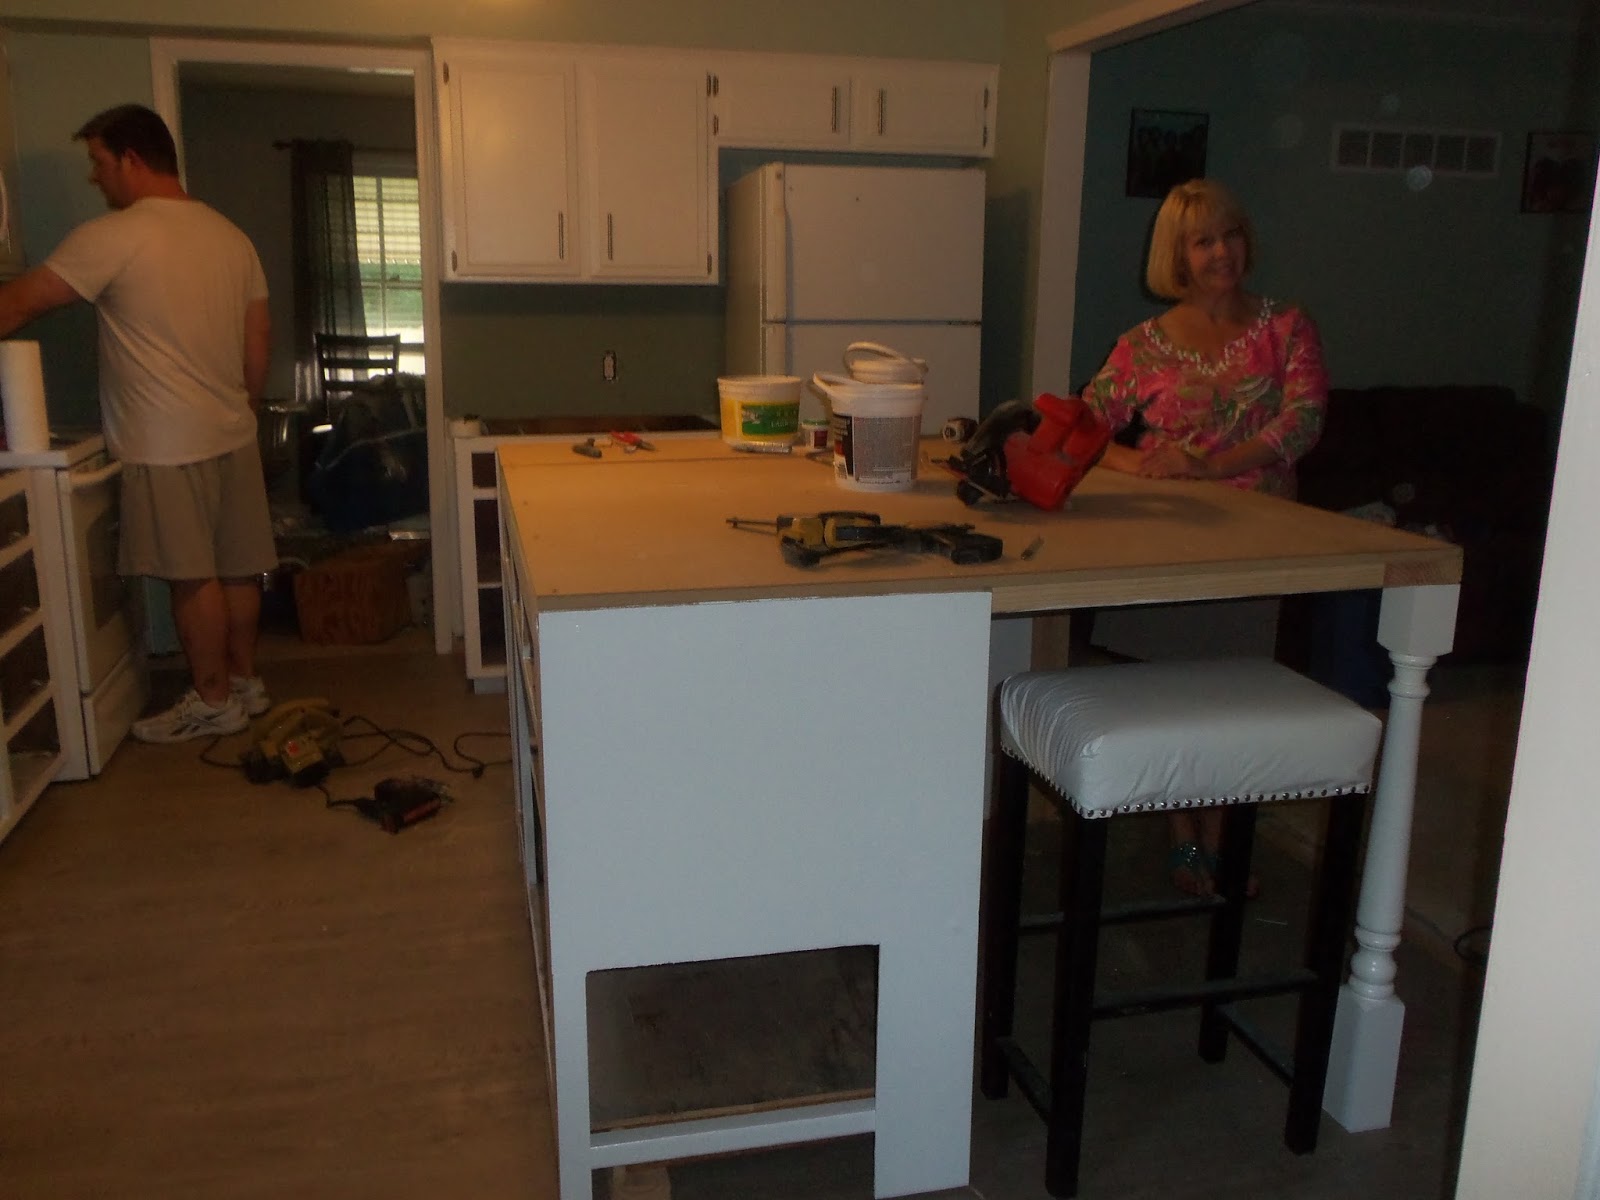
Kitchen-Main Room remodel and we (ok, Sara) has been itching to start something new. We've been wanting to get a king bed for awhile and figured a Master Bedroom remodel would be just the thing to kick off the new year.
Now that we've had some experience with painting furniture and doing the work ourselves, we couldn't just buy brand new furniture from big chain store so we started hunting for good quality pieces that we could transform. I can't wait to show off some of our finds, but I will keep that to another post. I can say that we are going to be tackling one of our biggest pieces yet, and it has already proven to be a challenge.
We've been using Sara's grandparents old furniture that we inherited when we moved into the house, but like most of the house, it's stuck in the 70's and wouldn't paint very well. Here's how the room looked before (don't mind the mess...we live here, and we are completely removing everything):
 |
| The old bed, all one large massive piece....Tequila knew something was about to happen to his other room |
 |
| A decent size closet but not functional at all...and a total disaster |
 |
| A whole lot of brown going on |
 |
| The dresser...the mess gives it a little extra something |
 |
| Another shot of the bed...still a sad puppy |
 |
| These curtains were from and old bedding set we had...not a fan, but they kept it dark when needed |
 |
| Random hooks...these were all over the house and they are in there pretty good...can't wait to get them out of here |
 |
| I'm only showing a picture of our dusty fan to show off the gold flecks in the popcorn ceiling |
 |
| Tequila showing off his handy work...found the only two squares of clean carpet without dog hair, and yes this is after vacuuming earlier this week. I love my BBD even if he is molting |
So you get the picture, pretty hodge-podged together and in total need of a deep clean...but it makes it even more fun to redo! Once we got everything (except Tequila) out of the room, both of us agreed that the popcorn ceiling and the gold flecks had to go.
Best tip to removing the popcorn ceiling...clear everything out of the room that you don't want covered in a thick layer of dust, close the door then get to work. Using a spray bottle filled with hot water and vinegar, we started scraping the popcorn down to the dry wall. Don't get it too wet, but just wet enough to help eliminate some of the dust. I won this round because my half of the room didn't need as much sanding, but this was definitely a team effort.
 |
| Tedious but worth it in the end |
 |
| Yes, Sara did the back end of the room |
 |
| Even Sara's mom came over for the party...and to give Tequila some Grandma hugs |
 |
| After all the sanding, letting all the dust settle |
Sanding is definitely the messiest part, and it takes several hours to let the dust settle, clean up what you can and let it settle overnight to get the next layer. Make sure to keep a window open and all the doors shut or you'll end up with an entire household of thick dust...trust me, I know from experience and have learned from it. :) But you will still have a lot of residual dust and debris that comes out of nowhere for a couple weeks. All worth it.
Then we decided to tackle the trim and the windows so the paint had plenty of time to set before we taped for the walls. We are not using Impervo this time, we are using a new type of paint that was recommended to us that has similar qualities but it's oil, but before I share the name I want to make sure that we love it. Already I'm loving the white trim! We started by wiping down the trim with TSP and then started with the primer.
 |
| First, 2 coats of primer |
 |
| First coat of paint |
 |
| Best part of starting with the trim, you can be messier and do less taping! |
 |
| We also started painting the doors since we had the paint out |
The room already looks better with 2 coats of primer and the first coat of paint. We will tackle finishing the ceiling and the walls once the trim paint and dust settles more and we wipe down everything. It was pretty messy 2 days, but we did get a lot done. We'll update our progress as we go, but now it's time to relax!
XOXO,
Sara, Brian & Tequila
 |
| Couldn't resist this sad face (and yes that is a shark costume) |


.jpg)