It has been awhile since our last blog post about our kitchen remodel, mainly because we have been doing a lot of cooking and enjoying our new kitchen and main room! We have gotten a lot of positive feedback from everyone, so thank you for taking the time to check out our project and letting us know your thoughts!
I've had many people ask about our kitchen island and it is one of our favorite new additions to the house. On top of tripling the counter space in our kitchen, adding much needed additional storage and giving us a place to enjoy eating and entertaining in our kitchen, we designed and built a customized kitchen island ourselves...
for under $80!
We did decide to add granite to our island, which definitely upped the entire cost of the project, but creating an affordable and custom kitchen island can be done and we will show how we created the centerpiece for our kitchen!
Before we started designing our kitchen, we started doing a lot of research on styles, colors, layouts, etc. and started pinning, clipping and saving pictures of what we liked.
 |
| Kitchen Island Pinspiraion |
My dream has always been of a large kitchen island, but after pricing out kitchen islands on the internet I thought they were completely out of reach. The kitchen islands you could purchase from home and furniture stores were way too small for what we were envisioning and we knew we would probably need to look at doing some custom work. Talking to some stores and custom cabinetry places, they were pricing out islands that would cost us well over what we were budgeting for the entire kitchen remodel project so we were a little deflated.
Then I started doing more research and convinced myself that we could totally build a kitchen island ourselves! The only problem...we were not skilled woodworkers and had no idea what we were doing. But I was convinced we could tackle the project and then the real work started...convincing the hubby that my idea was brilliant and that we (okay, more him) could pull it off! I may not have much patience, but I am very persistent and so I started casually bringing up diy kitchen islands every night and showed him hundreds of tutorials of how easy it could be (he wasn't as convinced as I was). I even came up with an ideal design that I knew we could pull off and even drew up a couple layouts for him and laid copies around the house, leaving up tutorials on our shared computer (subliminal messaging at its best) and even emailing him great ideas that I had found.
Slowly I wore him down enough to where he told me that if I could find a piece to get us started, he would consider building an island and we could start planning a kitchen remodel. Little did he know that I already had a plan and had already started searching for pieces that we could use to get started :). Then one Saturday, I convinced him to check out the
Habitat for Humanity ReStore. They have all sorts of donated items from doors and windows to furniture, lighting and more. Several contractors and home remodelers take materials that they remove from houses that they are working on and donate it to ReStore so they can resell and give the proceeds to Habitat for Humanity.Such a great cause, so it was easy to convince Brian to stop in and take a look.
They get new items daily, so you never know what you are going to find. It's kind of like an adult treasure hunt and sometimes you can score great deals. After looking around for awhile, I steered us over to the kitchen and bathroom section and was excited to find not one, but two pieces of cabinetry that were in great shape!
 |
| Two door piece |
 |
| Longer and taller piece |
We looked at these two pieces for quite awhile and both were in great shape. They both appeared to have come from kitchens and all of the drawers and doors opened and closed nicely...Brian was pretty impressed with the quality of each pieces. Then we started looking for prices. The first piece had a strip of tape on top that said $40 which we thought wasn't bad at all. The second piece didn't have any markings and so we had to go up and ask one of the workers what they would charge and since it didn't have a sticker, they said we could have it for $40 too if we were interested. I couldn't believe it! This piece was twice the size and in a little better condition and looking at Brian I could tell he thought it was a great deal. So we decided to go for it and bought the bigger piece.
There was just one problem...it definitely would not fit into my Escape. Whoops! Have I ever mentioned that I am a lot like my mother? This is one of the traits we both share...we have gut feelings and can be impulsive in our purchases before completely thinking about the logistics about getting our purchases back to our house. So I called her and our conversation pretty much went like this:
"
Hi Mom, what are you doing?..."
"Oh, we just got done golfing and are heading back to the house...whyyy?" (Mom)
"Well...we found this really great piece at ReStore and really want to show it to you...oh and we can't fit it into my car."
"Well I guess we can stop by on our way home to see it..." (Mom)
"Great! Because we already bought it and the store is closing so we are sitting in the parking lot right now with it and not really sure how we're going to get it home!"
- Silence - In the background I can almost hear my dad rolling his eyes
"We're on our way!"
Brian just shakes his head at me and rolls his eyes because he hates taking advantage of my dad and his pickup truck, but knows that between my mom and I, we don't really take no for an answer. I think that is why we get along so well...he gets me (well puts up with me, but same thing). :)
My parents arrived soon and we were able to get our new purchase home and I think we even impressed my dad with our find (even if he wouldn't admit it). Here are some more pictures of how it looked when we brought it home:
 |
| Front view |
 |
| Side view |
 |
| A view from the top |
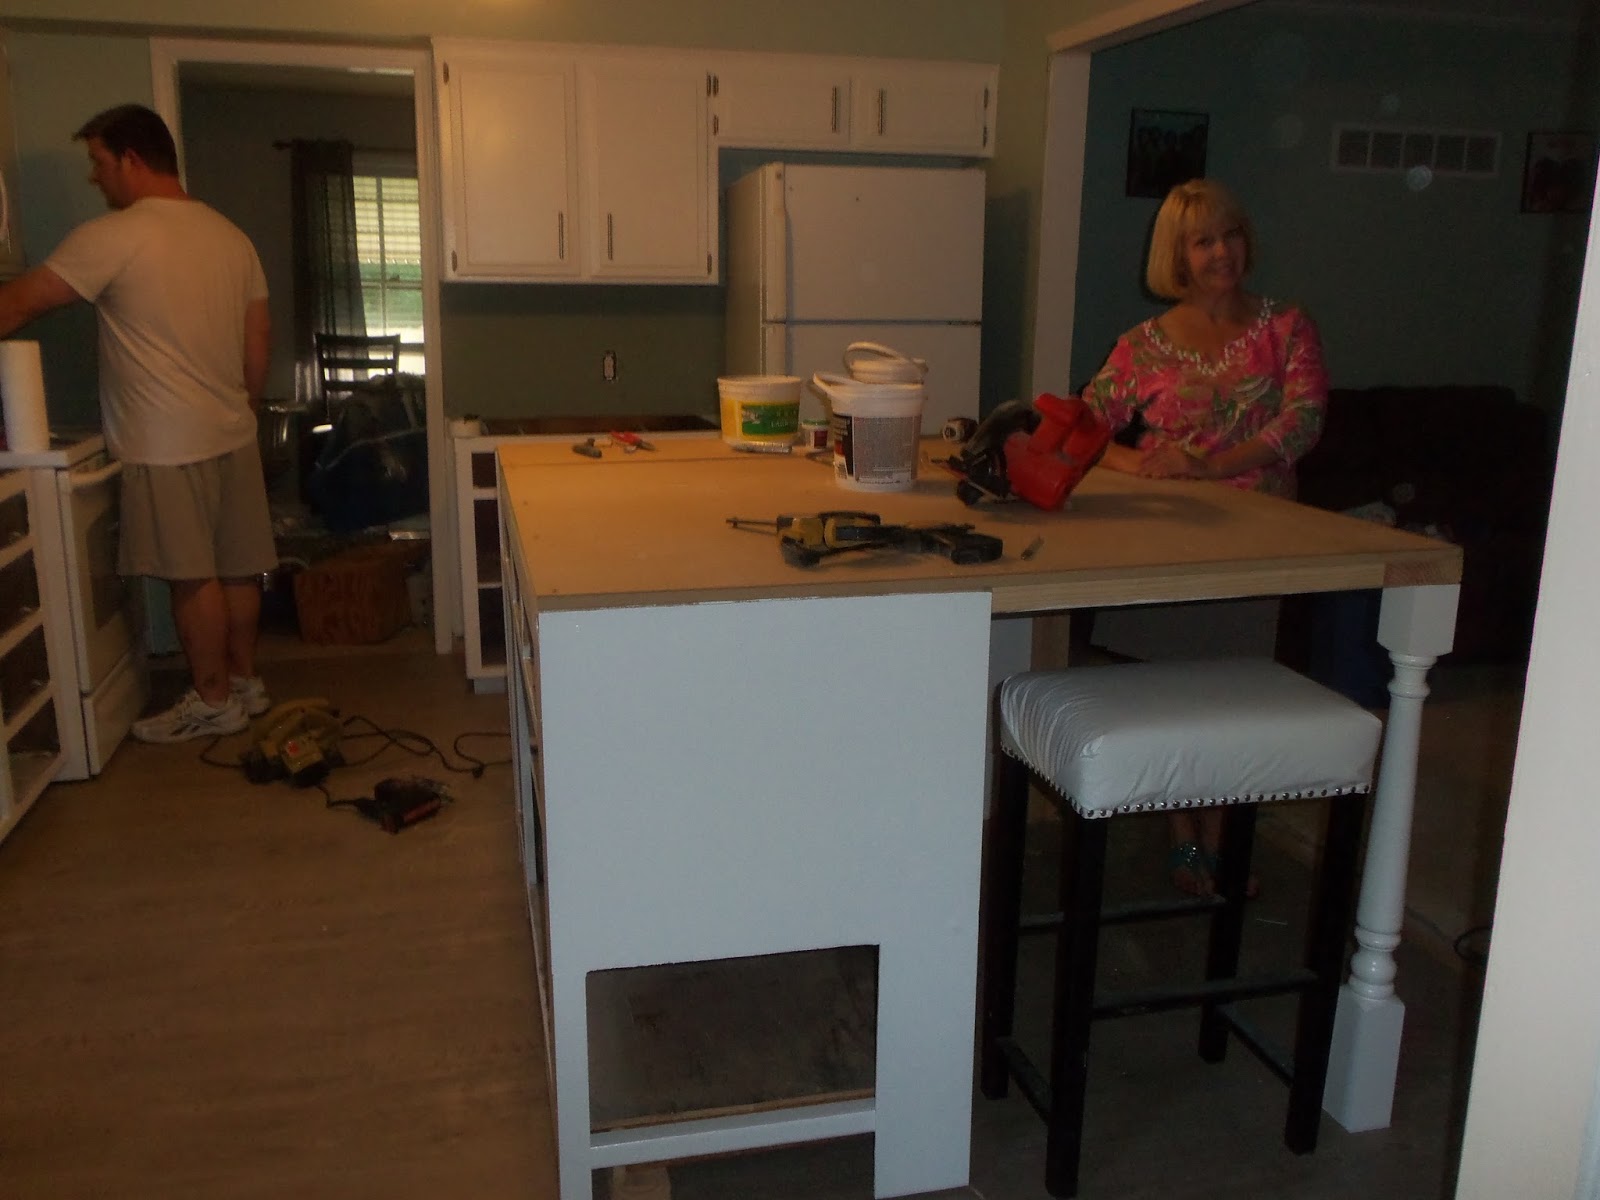
The piece had been a bottom corner piece in a kitchen and once we measured the piece, we decided to cut out the right corner of the piece so we were left with just the three drawers and doors. We knew we were going to add some sort of bookshelf to one side so this would free up more space and we could finish off the cut side later. The next thing we did was take off all of the doors and drawers and prime and paint the shell of the piece along with the doors and drawers. We used Benjamin Moore Satin Impervo in the same white that we painted the rest of our kitchen with.
 |
| The shell with the right side cut off and with a round of paint |
 |
| Painting the cabinet drawers |
After about a week of letting the paint dry, we started looking at what we could do to finish up the side of the piece and deciding how big we really wanted the island. For more on that, check back in next week when we post the next part of our DIY Kitchen Island.
Hope you are enjoying these beautiful days of summer and good luck to all of the teachers, kiddos and parents who are going back to school!
XOXO,
Sara, Brian & Tequila
 |
| Look at this dapper little dude riding shotgun with mom |