Welcome back to the second half of How we created our dream kitchen island for under $80. I just updated some of the photos because apparently this page was down for awhile, so I apologize for any delays.
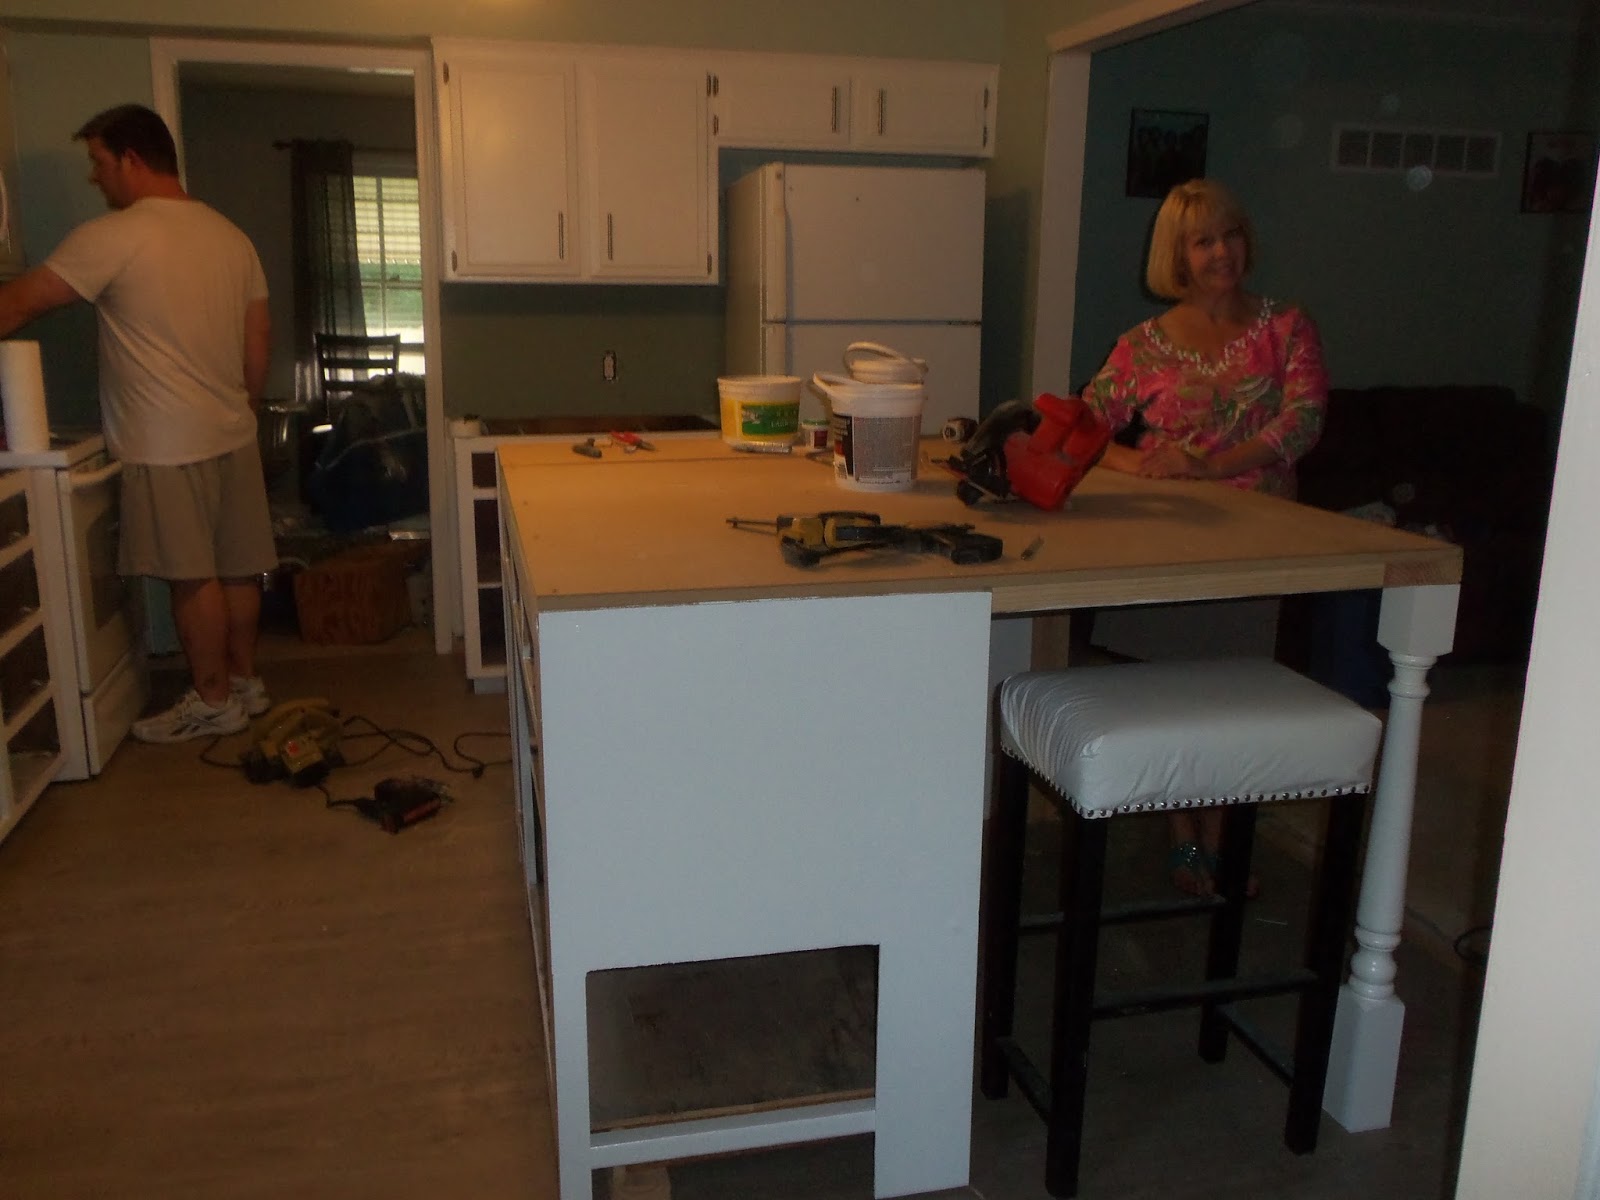
We left off with Part 1 where we cut down and started painting the cabinet section of our new island. The next piece of the puzzle was determining how big we wanted the island to be. For me, I wanted the island to be the center and showpiece of our kitchen and our home. We spend so much time in the kitchen and I never have enough counter space. In order to measure out how big we wanted the island to be, I needed to decide what I wanted to do for one or both sides. After looking at several photos online, I decided I wanted some sort of bookshelf on one of the sides to hold cookbooks, photos, kitchen items, etc. and the other side to be pretty open for seating.
Then I stumbled upon Ana White's Modern Craft Table and loved the three sided bookshelves she used as legs. Since I wanted one side of the island open for seating, so we only needed one and figured I could convince Brian that building just one would be a cinch!
Now before we could get building, we had to plot out where the island would go and the best length of the side bookshelf. We had the space to bring it out about 4.5 feet and I figured, go big or go home!


No comments:
Post a Comment