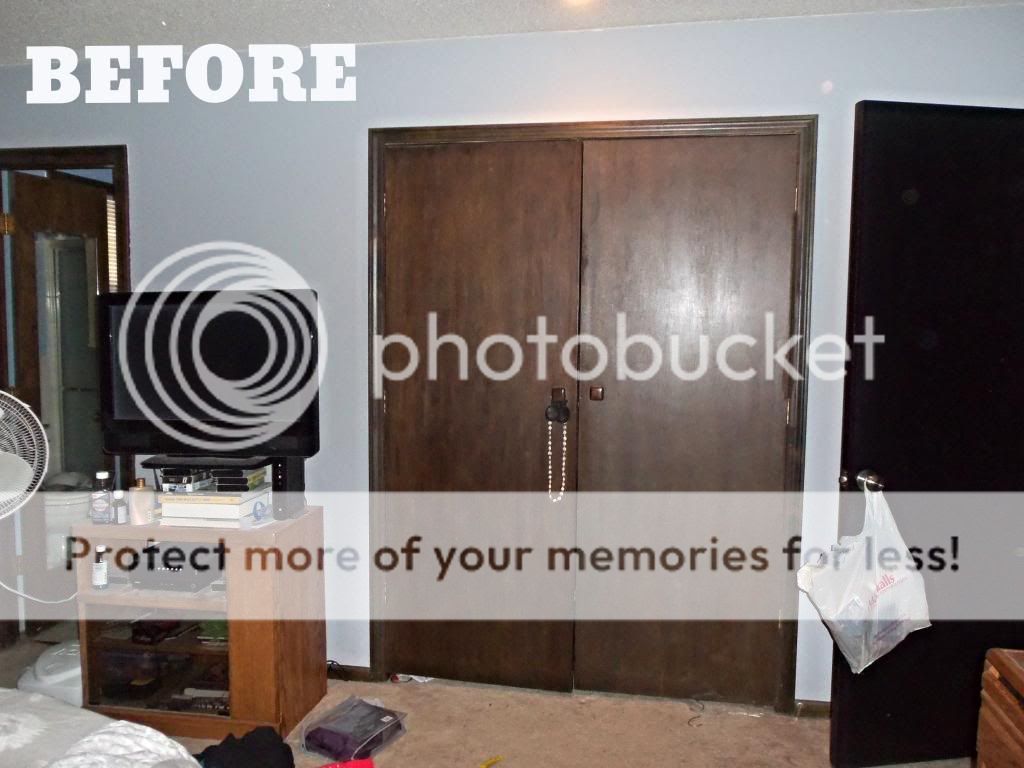
We are almost finished with our Master Bedroom Remodel. Just a few more minor touch ups and we should be able to share final pictures. Our biggest hold up...the closet doors. They were cheap, boring and didn't really add anything to the room. Take a look...
 |
| Really brown and boring, real classy next to the TV stand |
 |
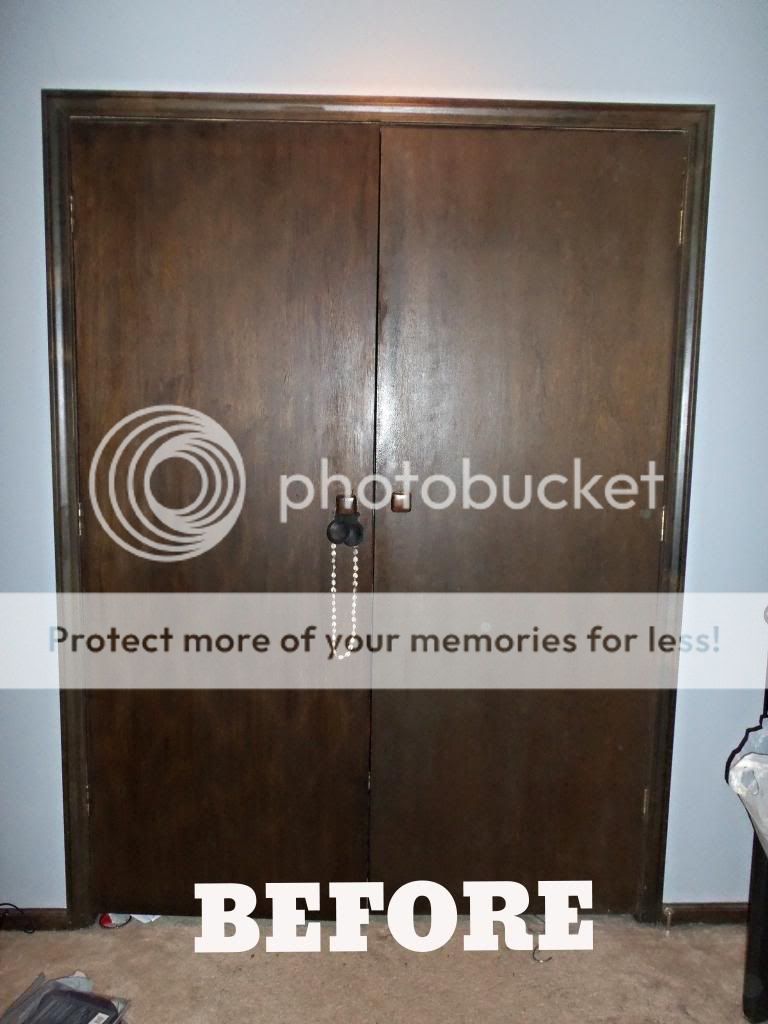
| Here's a close up |
They definitely needed work and I didn't want to just paint them because then they would be cheap and boring, but in a different color. I wanted to add mirrors but the doors are a really odd size and we would have to spend a fortune to get large enough mirrors cut to size or it would look really out of place.
Also, we have a bunch of 12" x 12" and several smaller mirrors we bought at IKEA as decorations for our wedding and I have been looking for ways to incorporate them. (We did use the little ones as a back splash when we remodeled our bar last year.
Click here for pictures of the finished bar) We tried several different designs and nothing looked good or would fit with the door knob holes. I was getting a little irritated, but didn't give up.
I scoured the internet and Pinterest for several weeks but wasn't finding much that would work with our doors. I was starting to get a little obsessive but then I saw a front door with a design I really liked and thought, I might be able to recreate this with our mirrors (see the purple doors below).
So I went down stairs, got the mirrors out and played around until I got it the way I liked...then all I had to do was convince Brian :) I believe there was an eye roll or two, but he knows that once I've set my mind to something, we're going to at least try it. (I am a Taurus, what can I say)
So take a look at how we turned our cheap, plain closet doors into a work of art:
Start of by removing the hardware, sand, clean, prime and paint.
 |
| 2 coats of primer, 2 coats of paint |
 |
| Paint the back side first and finish with the front side of the doors |
We started painting the doors at the beginning of the remodel, that way they had plenty of time to set. Then we got out all the mirrors we had and started arranging them the way we wanted on the door.
 |
| Trying to arrange them evenly and to not cover up the door knob hole |
The doors are really light and pretty much hollow, except for where the door knob hole is it's solid. Of course, the hole is located pretty far from the edge and not even at all, so we really had to find a design that we could use that could work around this hole. We thought about drilling another hole but were worried we might split the door.
Then we went to the hardware store to find some trim that was pretty light weight and would fit around the mirrors. Then we set the trim around the mirrors to make sure it would fit.
 |
| Fitting and measuring the trim |
 |
| Here are the smaller mirrors we planned to use |
Since we had to put 4 smaller mirrors together, we had a lot of seams that showed, so we decided to use the smaller mirrors and put them on top of the 4 larger ones. Then we would cover everything with trim. We set the small mirror on top of the 4 larger mirrors in the middle. Then we created frame pieces, all cut at 45* for the larger 4 mirrors and the one smaller mirror. Here is the rough cut picture once we put the frame pieces together:
 |
| 5 mirrors and some trim |
We really wanted to cover up the lines, so we used blue painters tape so we could get a better visual of what we wanted it to look like.
 |
| The tape helped with the visual |
Once we had the design we laid out the rest of the mirrors and realized we were short 2 large mirrors. Luckily Hobby Lobby is up the street and they had 12" x 12" mirrors so we picked 2 more up. They were beveled and slightly larger, but with the trim we used would be able to mask that.
We decided it would be easier if we used duct tape to tape the 4 larger mirrors together so we could cut the frame pieces down to fit tight around them.
 |
| The white duct tape, from my promotions days, is hands down the best duct tape ever invented. They only sell it at Strasser Hardware in downtown KC. This picture is the one with 2 IKEA mirrors and 2 beveled Hobby Lobby mirrors |
Once Brian got the first frame cut perfectly for the 4-mirror set, he cut 20 more the exact same size. Then did the same with the frame for the smaller mirrors. After that, we measured out the mirrors so they were even all the way across the door and used tape as markers so we could start gluing.
 |
| Setting the mirrors in place |
We would recommend using Liquid Nails to glue the mirrors to the door.
 |
| Liquid Nails...you can find this at most hardware stores |
To make it easy, we lifted up one side of the mirrors, added Liquid nails, set down the side carefully and then did the same thing on the other side.
 |
| Gluing the mirrors |
Once you glue the mirrors down, let them set for 24-48 hours at room temperature (definitely warm or room temperature...we will get to why later).
 |
| Let the glue dry and everything set for over 24 hours! |
When we did the back splash on our bar, we attached the mirrors to the drywall with the double-sided foam adhesive squares that came with the mirror. They have held up for almost a year now so we thought we would try and use those again for attaching the smaller mirror and the trim. It was a whole lot easier than using glue!
 |
| Double sided adhesive...thanks IKEA! |
We added the adhesive to the smaller mirrors first and centered them on the 4 larger mirrors.
 |
| Centering the small mirrors |
Next, we added the double sided foam adhesive to all the trim pieces, cutting them in half to fit.
 |
| Adding the adhesive to the trim |
Then we framed the larger mirrors with trim.
 |
| Finished with the outer pieces |
Once all the outer trim was done, we started working on the smaller mirror frames.
 |
| Smaller mirror frames |
 |
| Close up |
Then we measured the length between the larger frame and smaller frame so we could cut the flat trim pieces. We cut a little piece at a time to make sure there was a tight fit.
 |
| Almost done! |
Then Brian went through and caulked all the edges and sealed the frames. Once the caulk was dry he painted the frames the same white paint we used on the door.
 |
| With a little caulk and paint |
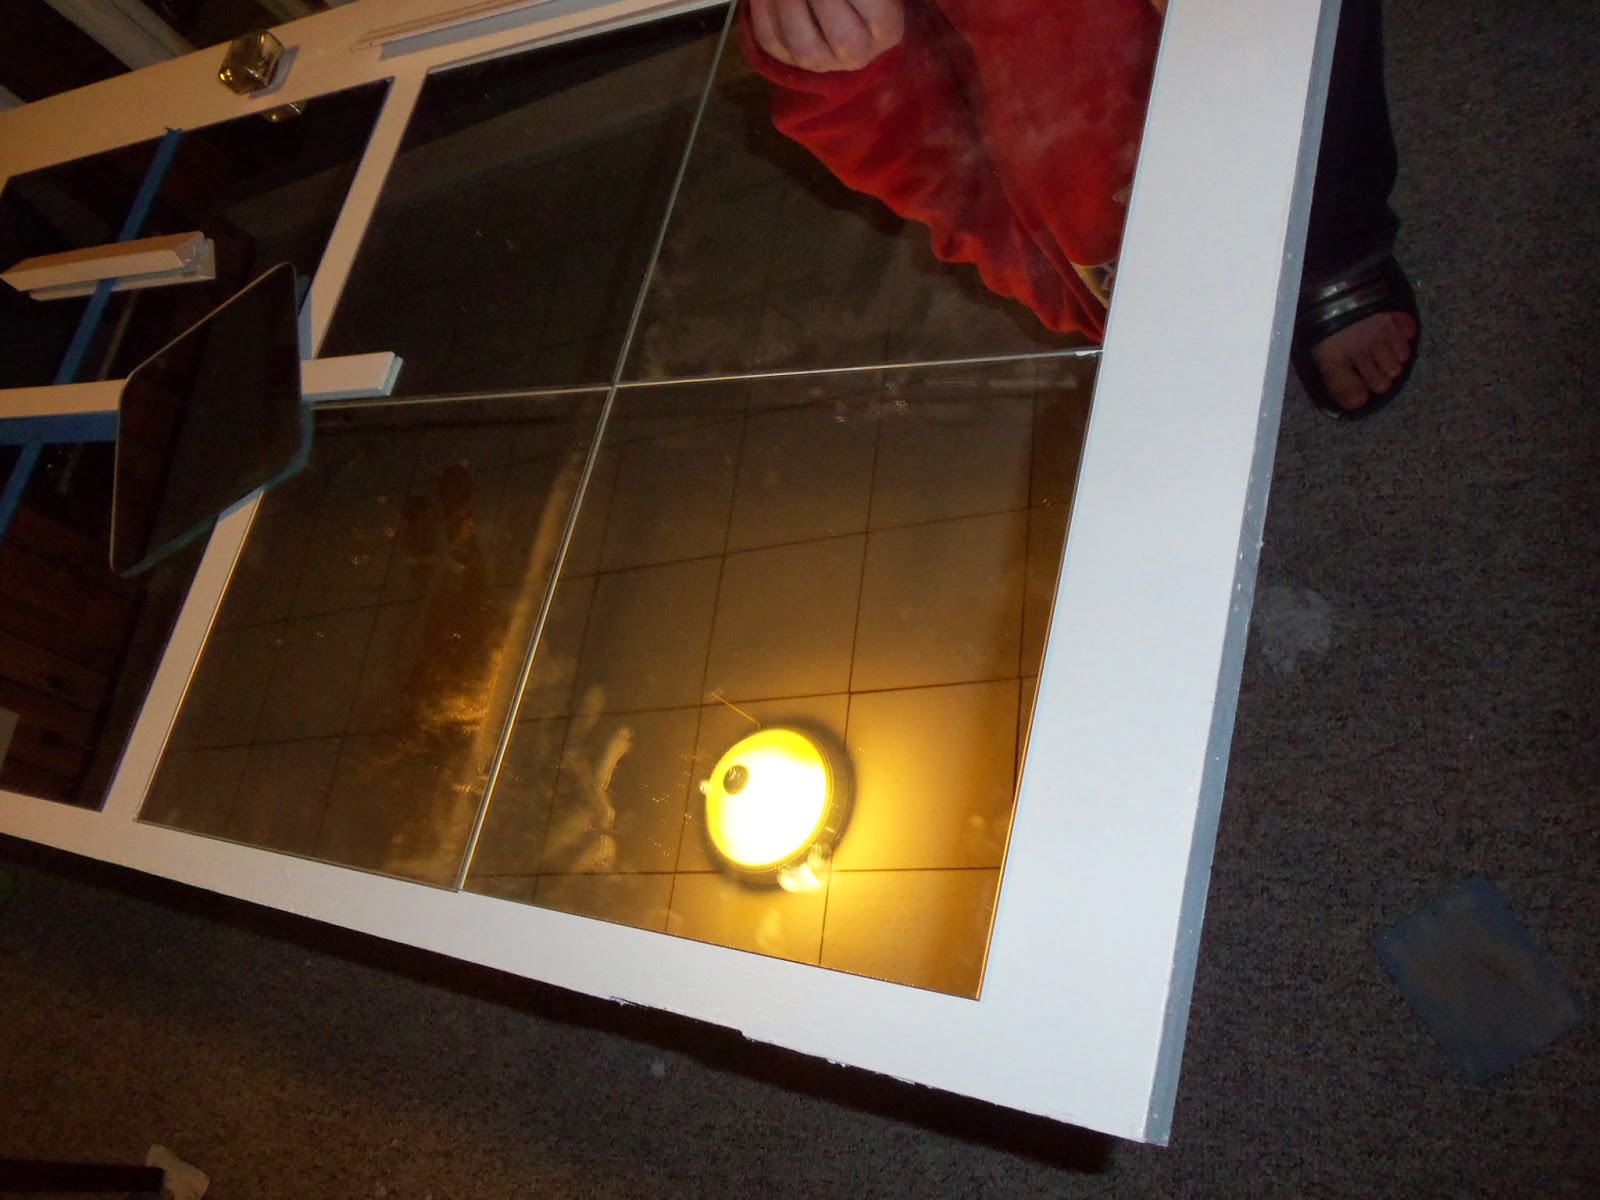
We let the paint dry for most of the afternoon and then it was time to bring them upstairs to hang. That's when everything went wrong. Saturday was a beautiful 75*, sunny and amazing out. We had spent most of the day outside and glued the windows to the doors and let them set. Pretty simple, right? Wrong. Because Kansas weather in the spring is anything but normal, overnight the temperatures outside dropped below freezing, we got some snow and the high on Sunday was in the mid-30's. It happened so quickly, we forgot to turn on the heat until Brian woke up early on Sunday freezing.
We didn't think it would affect any of the work because everything had been setting for several hours and when we added the trim there wasn't any movement so we thought the glue had set. We were really wrong. Brian carried the doors upstairs and just as we were adding the first hinge, the bottom 2 mirror clusters started sliding down! It was a mess! The glue wasn't able to set all the way and the mirrors were heavy enough when they were vertical that they slowly slid right off. I didn't get any pictures because I was almost in tears and being a little dramatic.
Luckily, Brian keeps a cool head and he got the mirrors reset and fixed everything while I had my mini-meltdown :) We kept the doors upstairs and let them set for another 48 hours. The doors were super heavy, so I was still a little nervous that they would be too heavy to hang. I think we both held our breath while Brian was screwing in the first couple of hinges.
Then...drum roll, please...we got them both up!
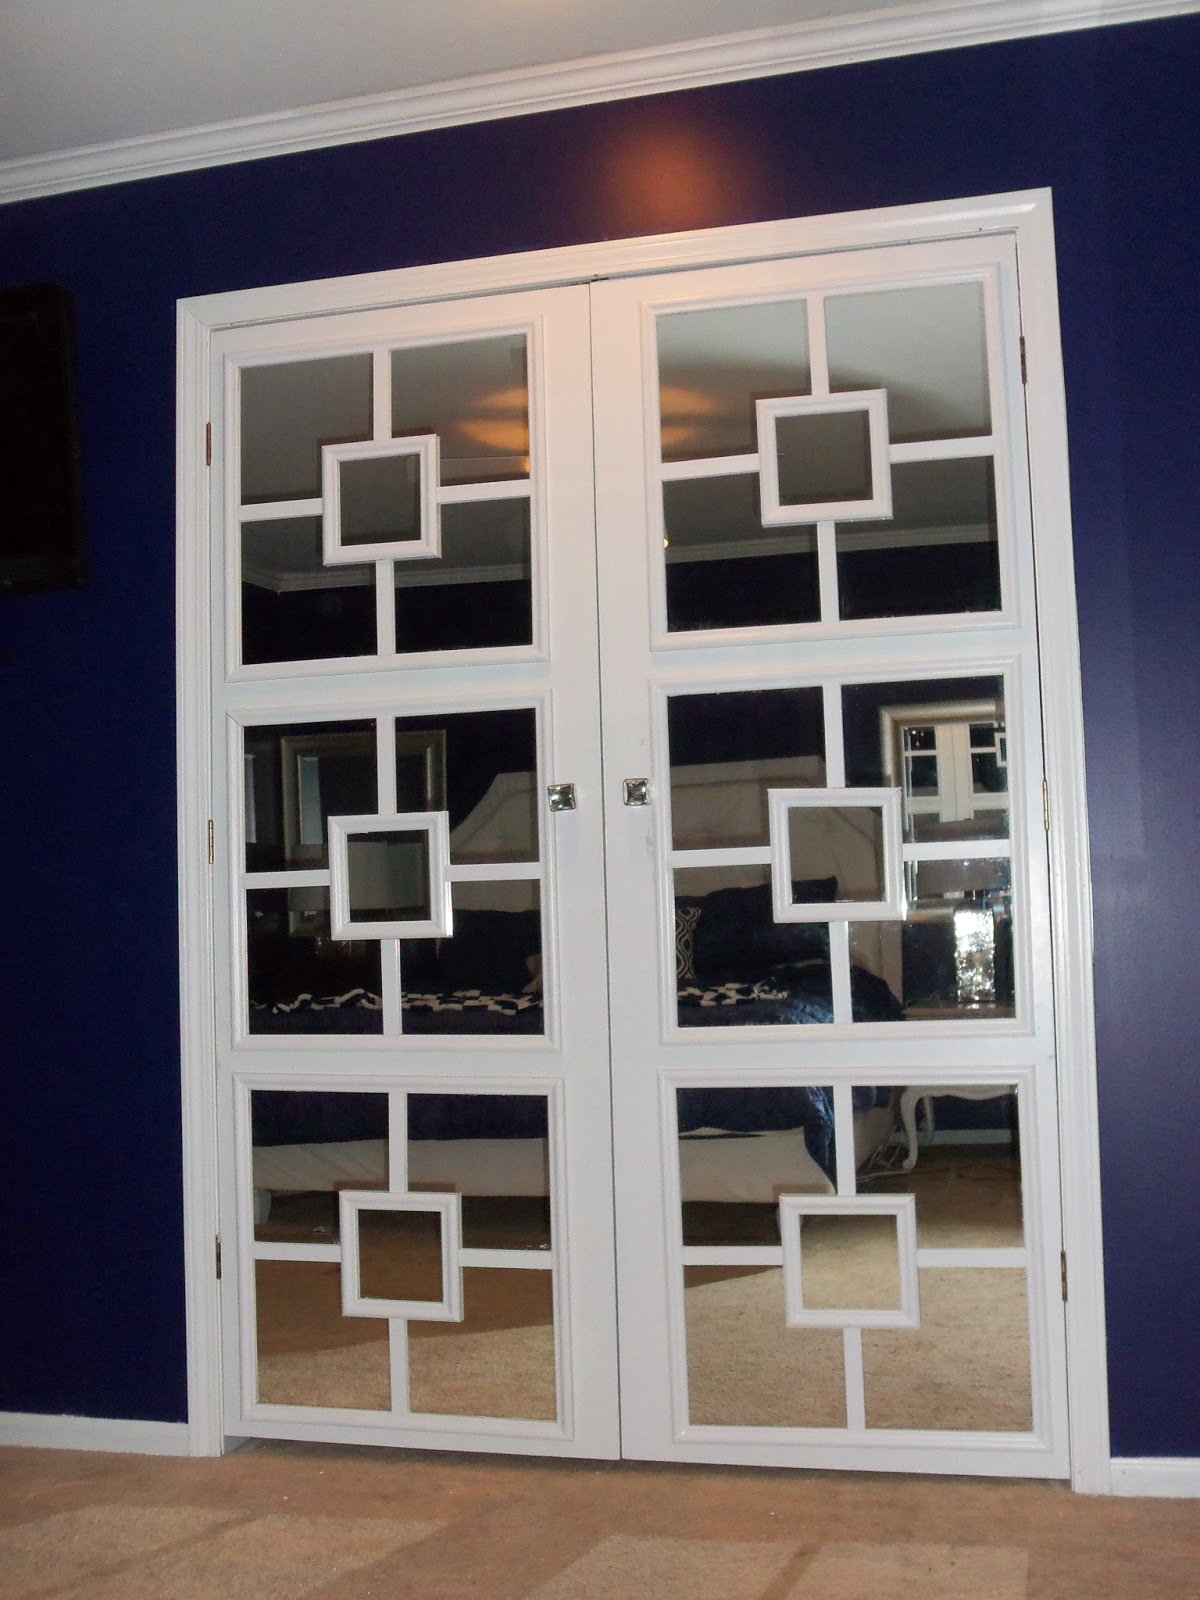 |
| Finished doors |
 |
| Here is a longer view |
I am so excited about how they turned out! And we reused our wedding mirrors, so we only spent $35 on the trim, the 2 Hobby Lobby mirrors, Liquid Nails and the new knobs! Not too shabby! And the mirrors add extra light and make the room seem even bigger!
 |
| We found these at Hobby Lobby at 50% off! |
Here are a couple of before and after shots (mouse-over for the after view):
We'll have more pictures once we start getting everything back in. Hope everyone haves a wonderful week!
XOXO,
Sara, Brian & Tequila

No comments:
Post a Comment