This post has been a long time coming, but we have been a little preoccupied these past few months. A few months ago we decided to tackle our biggest renovation project yet...the basement. Unlike our past renovations, this time we have a new general contractor in town...Miss Bailey. She can be quite a handful, very demanding and a little too curious for her own good. But she's really cute and can make everyone laugh, so we figure we'll keep her around.
 |
| We found one of Mom's old jerseys cleaning out the basement |
 |
| Bailey's favorite part was cleaning out the storage |
 |
| Safety first |
 |
| Designing with some scrap wood |
 |
| Not amused with the progress |
 |
| Putting in some hard work |
 |
| Supervising from the sidelines |
If you've ever been to our house, our basement is like a time-warp back to the 70's complete with shag carpet, wood paneling and some of the worst wallpaper you've ever seen.
 |
| Enter the time-warp |
 |
| The back room...all the paneling |
 |
| A view from the other side of the back room |
 |
| Don't mind the mess...but a wider view (notice the rotary phone) |
 |
| A view of the stairs and the open HVAC system |
 |
| Look at the orange shag pole |
 |
| One more glorious view of the room |
 |
| The stairs |
 |
| Another view of the backroom |
 |
| And finally...the yellow shag wall (sick!) |
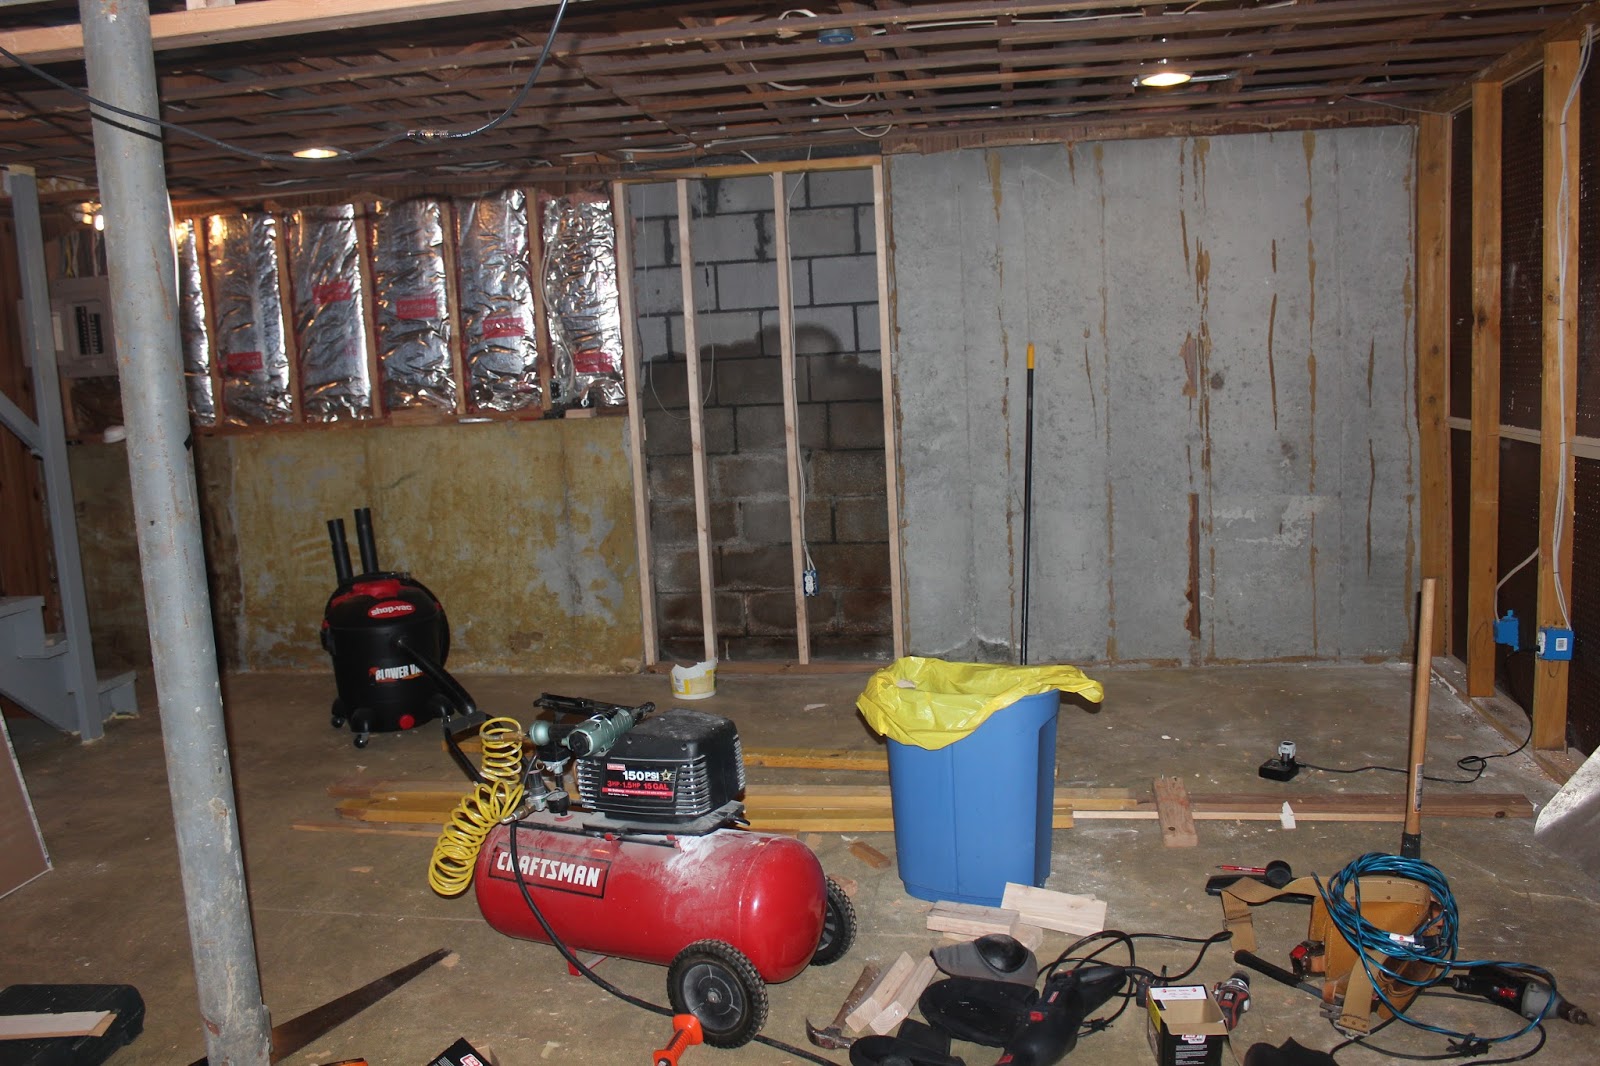
Over the years, it's turned into more of a storage unit of sorts so we had a lot of purging to do before we started demo. We had a garage sale, donated most of the items and stored the rest in a newly cleaned out garage. Once everything was out, we got to Brian's favorite part...the demo. Cue the sledgehammer...
 |
| A view of the cleaned out space |
 |
| Facing the backroom and laundry room |
 |
| HVAC, front door and garage door |
 |
| Staircase |
 |
| Pulling off the paneling |
 |
| Knocking down those awful ceiling tiles (my job) |
 |
| Getting some use out of the sledgehammer |
 |
| Busting out the backroom wall (cute hubby alert) |
 |
| Scraping out some of the glue from the paneling |
 |
| Huge thank you to my Dad for coming over to help get everything ready |
 |
| Ripping up the carpet (probably the easiest part of the demo) |
 |
| View after knocking out the studs from the back wall |
 |
| From the backroom looking out |
 |
| West wall of the backroom (next to the laundry room) |
 |
| A view from the stairs of the laundry room and (former) backroom |
 |
| A lot more space |
 |
| No more shag or paneling...just a lot of concrete |
 |
| A view of the stairs and east side of the basement |
There is nothing quite like starting demo of your biggest renovation to date and finding out you are pregnant. What I thought was the flu was actually baby number two and since it was really early in the pregnancy, it was definitely a challenge to keep it a secret. We enlisted a ton of help from my amazing parents and I was sure my dizzy spells and nausea were going to give it away when I was pulling the thousands of staples from the ceiling tiles, but we managed to keep it quiet. Having to wrangle our wild child also helped to keep me from a lot of the heavy lifting.
With the main portion of demo done and several trips to the dump later, we had a lot of work to put into the framing of the room. Like the rest of the house, we learned that the builders and previous owners took a lot of shortcuts...they glued most of the paneling straight to the cement, the wiring was all over the place, they used a wool blanket to insulate the door frame, used a closet door for the outside door and had a pop in window covered in aluminum bars in the back room. We have to give another huge thank you to my awesome engineer father who helped guide us and dug in with us to get the room framed with studs and ready to go. We also framed in a soffit, boxed in the main water shutoff and built a closet for the HVAC which took some creativity, but we got there.
 |
| Framed the entire west wall and the backroom |
 |
| Framed out where the old bookcase was |
With the basement framed, we called our electrician and had him completely rewire, put in recessed lighting and reallocate outlets so that everything was to code and safe for use. I'm not going to say we didn't have to call him back because my hubs cut a few lines and almost electrocuted himself, but ok, I did. Luckily no one was hurt (minus the melted sawzall blade) and they restored power a few days later. The electrician was pretty impressed and said that he would have been pretty scared of the sparks that had to have come from that particular line.
Once the wiring was set, the fun began. Yes, I'm talking about drywall. I don't know how I can love something and loathe it at the same time, but drywall is definitely that something. It's also something that seems so easy but takes so much time and cutting! We did rent a drywall hoist for the ceiling and I can tell you it was one of the best investments we've made. Especially since a lot of the drywall work was done by Brian solo...with help from my Dad whenever we could steal him. This may not be our favorite part...but it is one of Tequila's because he can roll around in the drywall dust and eat as much as he pleases.
 |
| Putting up the first piece |
 |
| Tequila overseeing the progress |
 |
| Framed up the pole and finishing the drywall on the back wall and soffit |
 |
| We removed the paneling behind the staircase to fit in drywall |
 |
| How Tequila looks 90% of the time these days |
 |
| Talk about creativity...somehow we managed to get this fit in a really tight space (I'm patting myself of the back for this one) |
We had to say bon voyage to my Dad who is now working in China for a couple months which we are really bummed about and counting down the days until we see him again. We loved showing him the progress we made when he was in town, so the rest will be us showing off to him through pictures.
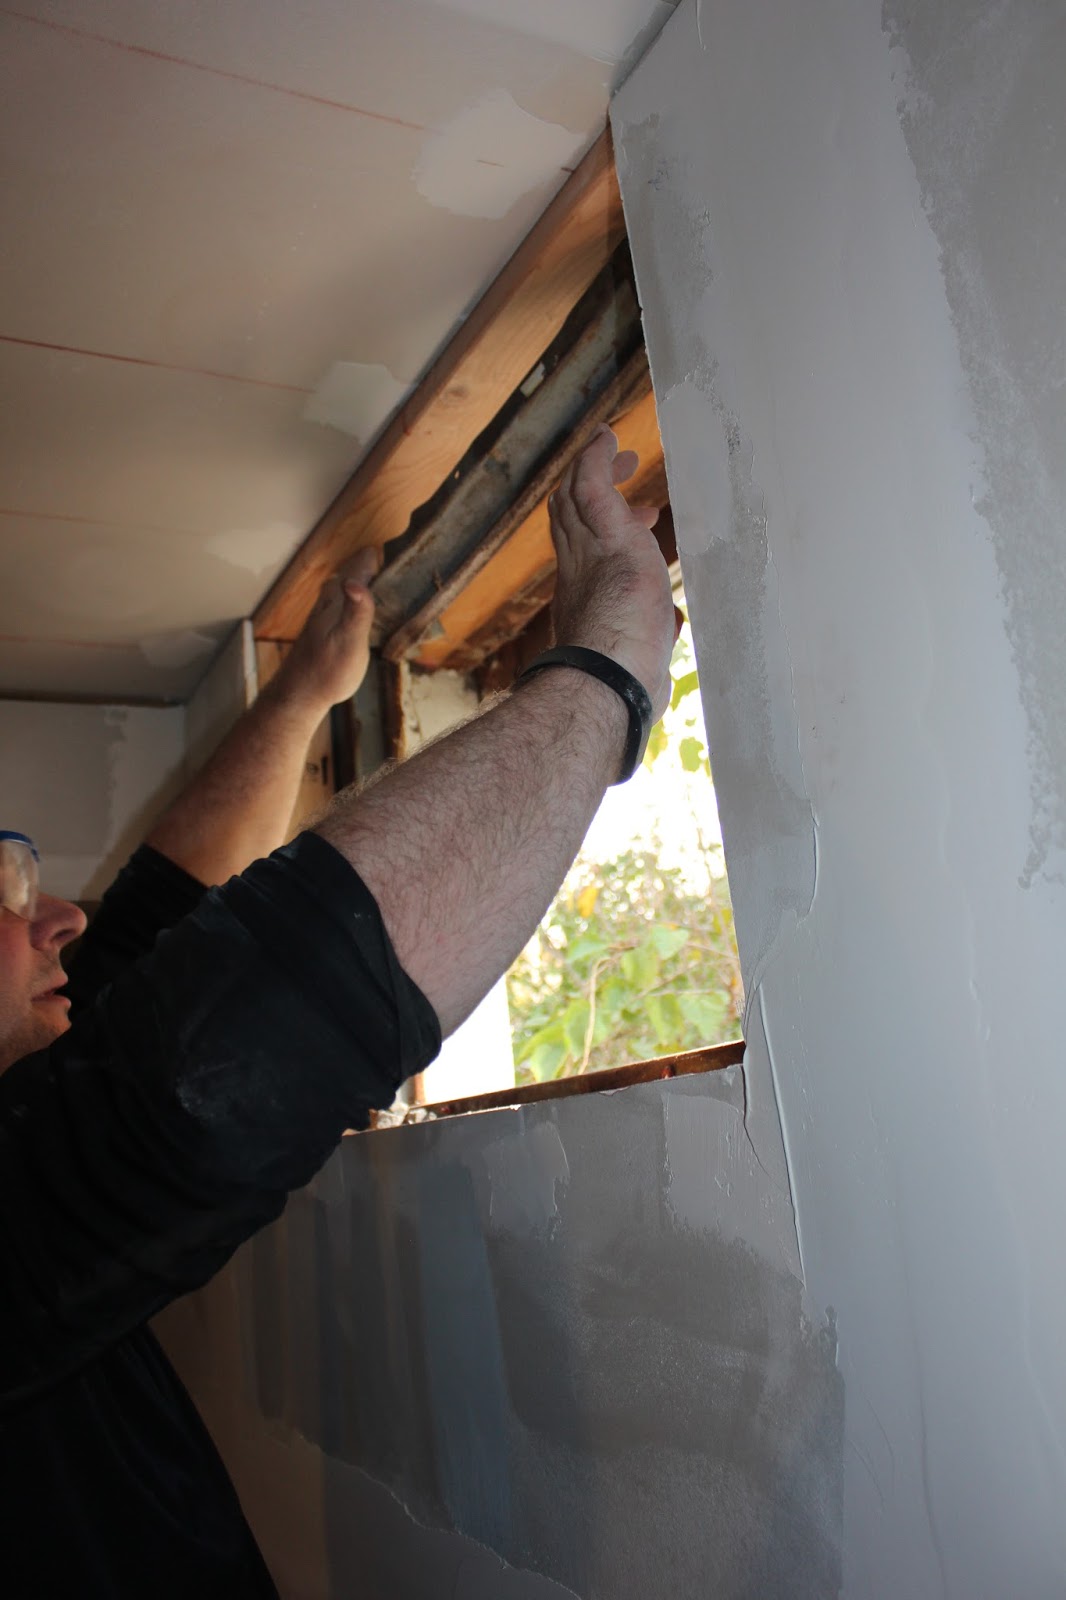
With all the drywall up, we started to mud and fit in the new doors and window. Of course, nothing can be easy and we had to cut into the main beam about a half inch to fit the outside door and trying to get the metal out of the window frame took was way harder than it should have been, but we got them both in so we can finish up the drywall. We also started working on finishing the staircase.
 |
| Old door frame before cutting |
 |
| New door frame after some cutting and adding some shims |
 |
| The old, and awful, window frame |
 |
| Trying to rip out the metal framing was the worst part |
 |
| Making room for the newel post |
 |
| Newel post in |
My hubs has been hard at work this morning sanding the second layer of drywall so while he takes a quick break, I went down and took some pictures. When you're knee deep in mud, it's hard to really look at how much work has been done, but looking at the freshly sanded walls makes all the long hours and hard work worth it. We have one more layer of mud to go before we strip the rest of the wallpaper from the stairwell and start painting but it is definitely getting closer.
 |
| A view from the stairs |
 |
| Another view of the stairs and the closet for the HVAC |
 |
| View from the backroom |
 |
| Looking at the west wall and outdoor/garage doors |
 |
| The HVAC closet |
 |
| The new doors |
 |
| View from the garage door of where the backroom used to be |
 |
| My drywall companion |
 |
| Another view from the stairs looking at the laundry room and west wall |
 |
| Where the shag wall and bookshelf used to be |
 |
| Another angle...and a pic of our saving grace the drywall sander/vacuum...worth the rental fee! |
I can't thank my husband enough for all the work that he has put in on the basement and the patience he has shown this sick, impatient, nesting prego during the entire process. I love you babe! And finally, here are a few before and after pics so you can see our progress so far:
We are off to take the children to the park and watch the Chiefs game, but we will keep you updated on the progress as soon as we can. Enjoy the rest of your weekend!
XOXO,
Sara, Brian, Bailey, Tequila and Baby Schorr Thing #2


No comments:
Post a Comment