Hope everyone enjoyed the long 4th of July weekend! We had a nice relaxing weekend spent with family and finished ripping off the floors. We are really excited because this week we will have the floors and granite installed, but we have a lot of work to do before everything shows up.
We started tearing up the floor last week and decided to get the rest up before the 4th so we could take off. The entry hall was the most challenging because of the 3 layers, but luckily the hallway was easy so it made up for everything else. Now our house looks even more like a construction zone and Tequila has no idea what's going on...
 |
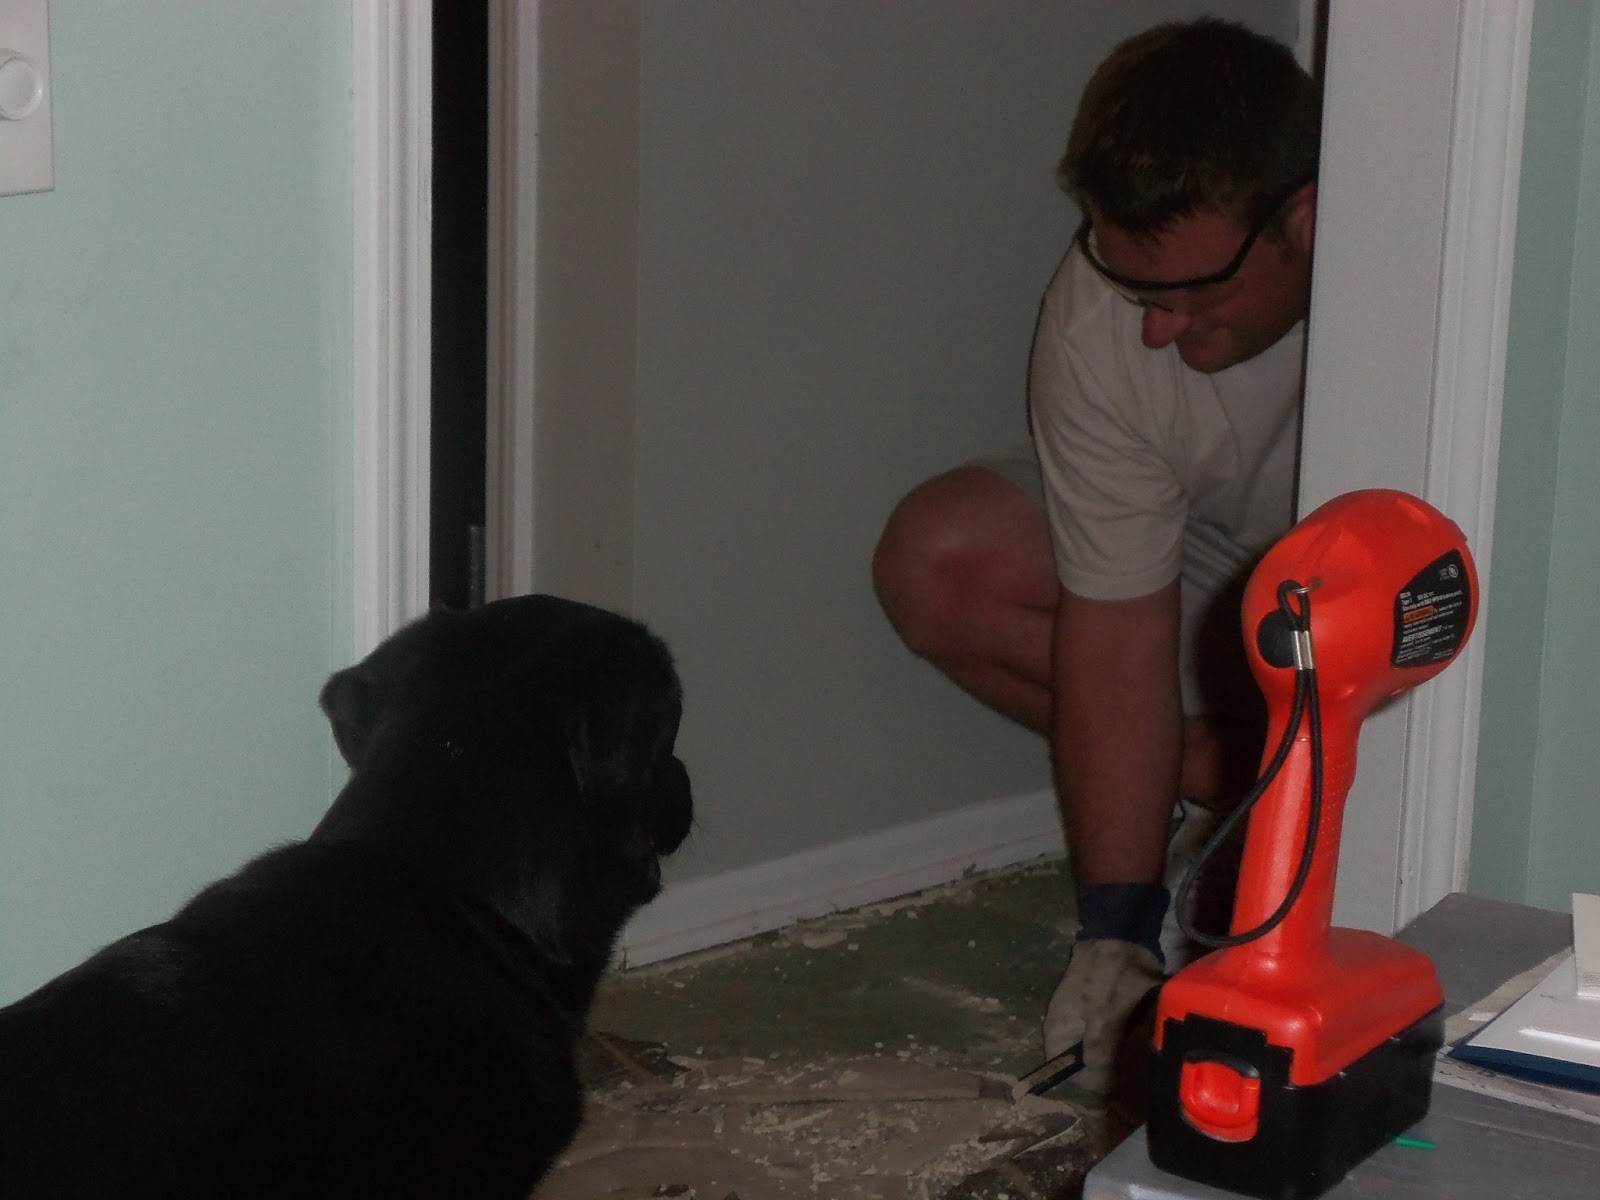
| Tequila "helping" Dad with the floor |
 |
| Top 2 layers off...blue giraffe layer left |
 |
| Getting all the carpet up in the hallway |
 |
| No more blue giraffe |
Once the entry way and hallway was finished, we started on the kitchen. The tiles came up super easy and then we had to unscrew the underlayment...way easier than chiseling away the particle board in the entryway.
 |
| Old flooring |
 |
| Getting the tiles up was easy |
 |
| The even older kitchen flooring...this was a super stylish house :) |
 |
| The boards came up really easy! |
 |
| Our main room...it's an obstacle course |
After we got all the flooring up we had to go over every inch with a 3' level to check and make sure there weren't any issues. Surprisingly we didn't have many issues with the floors, they were fairly level without many squeaks. We did have a slope in the entry way, but the fabulous Lori Howarter with H&L Properties came over and said that we didn't need to use a leveler and she even helped us fix a squeak by the basement stairs! Now we are finally ready for the flooring to be here :) Then once we leveled and found that the sub-floor in the kitchen was level, we started to finish off some of the parts of the island so we aren't too rushed on Thursday night. I'll do an entire entry for the island later, so we'll post those pictures later.
We decided to take Saturday off and went to several stores looking at pillows and other accessories for the main room. I tend to have really expensive taste, so we did a lot of looking :). I really wanted to stop in Z Gallerie because I love their pillows and I really want their white reptile serving tray for our new coffee table. But since we are making some bigger purchases this week, I decided to skip Z and see if I could find anything at Hobby Lobby that I could work with. After about 15 minutes Brian asked what I was looking for and when I told him he mentioned that we already had a tray that his Granny gave him when he moved to KC. What? I know our house is crazy messy right now, but I would have remembered having a serving tray...but he was right, it was downstairs in our laundry room. It was brown which wouldn't go with much, so we decided to spruce it up a bit. Here is a before and after:
The best part of the update...it only cost $7! Here is a quick tutorial on what we did:
1. Start with an old serving tray. Remove any wrapping around the handles and clean it really good, getting all of the corners.
 |
| What we started with |
2. Use a primer+spray paint and spray the tray in a well ventilated area. We chose a super gloss white spray paint for this project. Let dry.
 |
| Super gloss white spray paint |
3. Once the spray paint is dry (usually one hour or so) cut pieces of Bondera TileMat Set the length of the tray and peel and stick both sides. You can use mastic if you want, but we had this left over from another project and I love anything peel and stick.
 |
| Layer of Bondera Tile SetMat - Doesn't have to be too precise (as you can clearly see) |
4. Then start laying your tiles. We used beach glass because it complemented the color scheme in our room, but any tiles will work. We found the bags at Bed Bath & Beyond for $2 and bought two which was plenty for our size tray. You can make any patterns that you want, and if you are like me, I changed my mind on the placement about 10x, but luckily they peeled up easy and I could move them around.
 |
| Mosaic is great because you don't have to be precise |
 |
| I finally got the spacing and the colors where I wanted them to be |
5. Next, cover the entire bottom layer with grout. Make sure to smooth out the grout evenly over the tiles and get into all of the cracks. I hate this part because it's super messy so Brian stepped in.
 |
| Time for grout |
6. Once the grout is evened out, take a wet sponge and gently wipe the tiles down until they are a nice clean surface. This takes awhile with the sea glass because we had to wipe each piece of glass down one at a time, but it was worth taking the extra time. Once the glass was cleaned, we realized you could really see the tape that we used through the glass, but it tinted the white glass a bit and added an extra element that we like. Next time, we would probably use mastic, but sometimes you use what you have. :)
 |
| After the first round of cleaning |
7. Let the grout dry overnight and then add any finishing you like. We wrapped the handles with some rope that we had lying around to give it more of a beachy feel and used hot glue to secure it.
 |
| Finishing up the handles |
And that's it...pretty easy! And we did have to touch up the sides with some white paint when we were done because we should have waited a little longer before starting on the tiles...it's that famous patience again :) But not bad for only $7.
 |
| This will be perfect on our new coffee table |
I will definitely be posting more this week once our floor is in (I'm so excited!!). Until then, I hope you have a wonderful week!
XOXO,
Sara, Brian & Tequila


No comments:
Post a Comment